
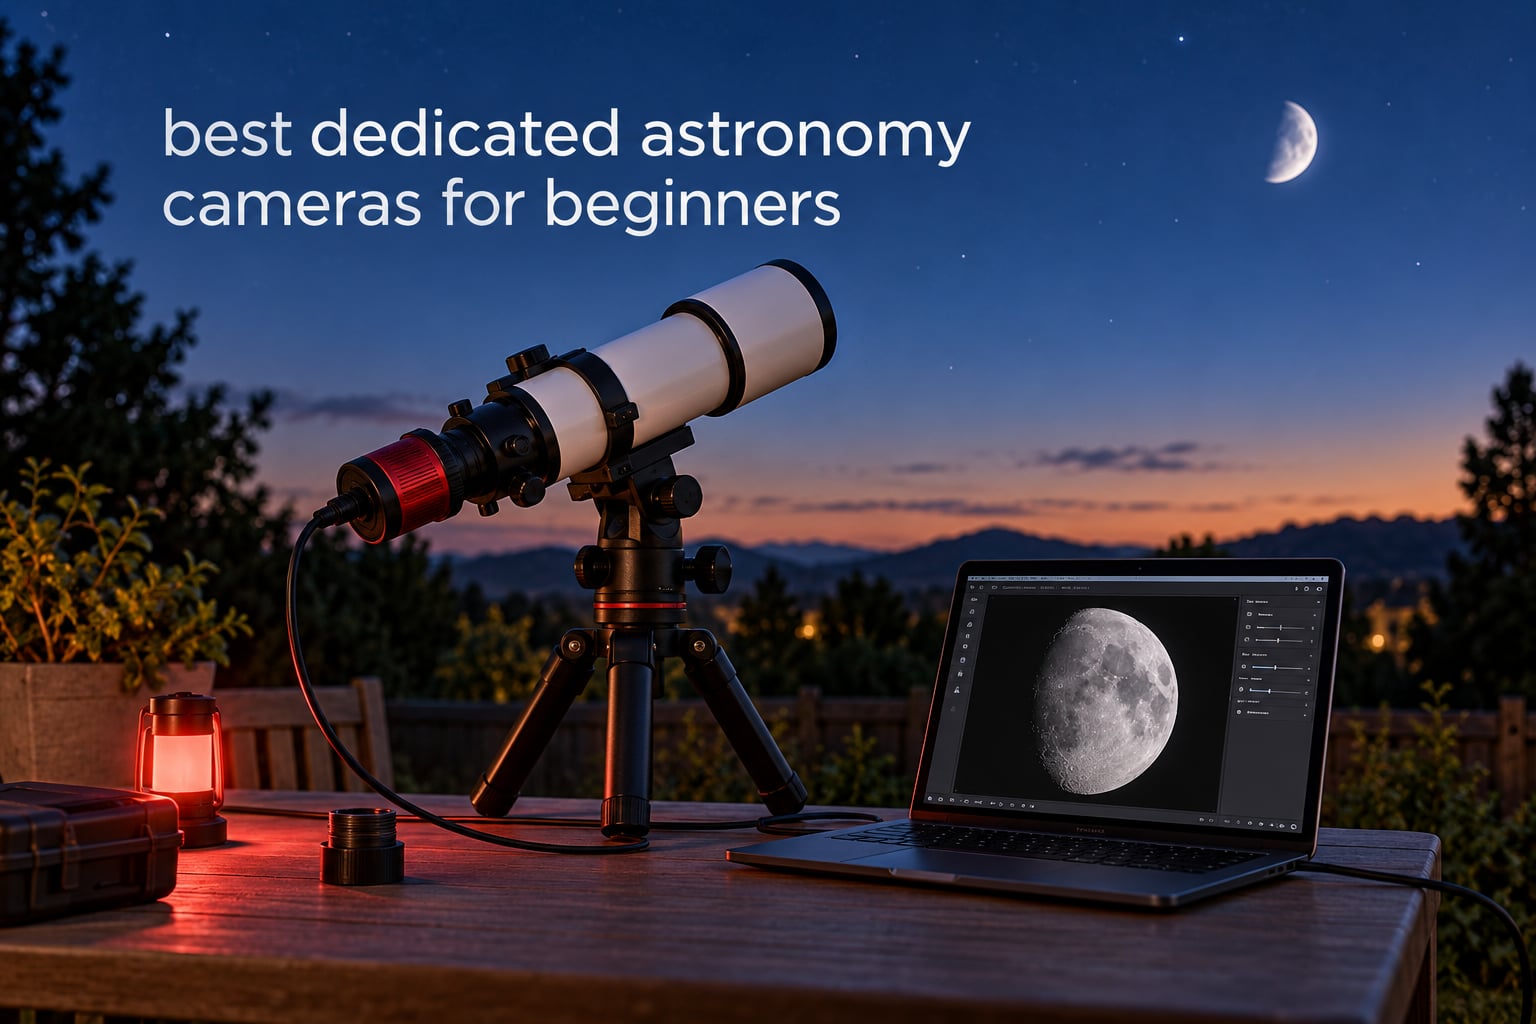
The search result for the best dedicated astronomy cameras for beginners is dominated by forum threads, and almost every one of them opens with the same line: there are just so many models. That is a fair complaint. The category has exploded in five years, and most of the guides ranking for it are not really talking about dedicated astronomy cameras at all. They list DSLR and mirrorless bodies and let you work out the rest.
This guide is different in one important way. Every camera below is a purpose-built astronomy camera, the kind that screws into the back of a telescope or drops into an eyepiece holder, and every one of them is a realistic first purchase for somebody who has never done astrophotography before. We sorted them by what a beginner actually needs: does it work on your operating system, will it run without a driver, can it record long enough to stack, and is the software going to frighten you.
One thing you should know before you read further. The dedicated astronomy cameras that dominate beginner guides are cooled one-shot color and monochrome CMOS cameras from brands like ZWO, QHYCCD and ToupTek, and they cost several hundred dollars a piece. The cameras available in the entry tier here are a different class of machine. They are electronic eyepieces and high-frame-rate video cameras built for the Moon, the planets and wide-field views of the night sky. They are the right first step for most beginners, and this guide is honest about where each one stops being enough.
If you want the two-paragraph version: our top pick is the SVBONY SV305C Pro, because its 107 frame-per-second capture, 0.7e- readout noise and ST4 guiding port cover planetary work, guiding duties and short deep-sky sessions in one body. The SVBONY SV105 is the cheapest sensible place to start, and the Celestron NexImage 20 is the resolution monster for anyone chasing fine lunar detail. Last updated for 2026.
Table of Contents
- Top 3 Picks for Best Dedicated Astronomy Cameras (October 2026)
- Best Dedicated Astronomy Cameras at a Glance in 2026
- 1. SVBONY SV305C Pro: The Best All-Rounder for Newcomers
- 2. SVBONY SV105: The Simplest Place to Start
- 3. SVBONY SV205: The Detail Pick for the Moon
- 4. FIBONAX Nova200 1080P: The Cheapest Usable Option
- 5. Telonixium WiFi Eyepiece Camera: The Only One With a Screen
- 6. Celestron NexImage 20: The Resolution Pick
- Do You Need a Cooled Camera?
- One-Shot Color vs Monochrome: Which Should a Beginner Buy?
- Matching Your Camera to Your Telescope
- Software and the First Imaging Session
- What Else Your First System Needs
- Frequently Asked Questions
- What is the best astro camera for beginners?
- Do I need a cooled camera as a beginner?
- What is the difference between one-shot color and monochrome astro cameras?
- Is a dedicated astronomy camera better than a DSLR?
- Can I use an astronomy camera on a camera lens instead of a telescope?
- What pixel size do I need for my telescope?
- Conclusion: Start Here in 2026
Top 3 Picks for Best Dedicated Astronomy Cameras (October 2026)


Three cameras cover most beginner situations, and they do it for three different reasons. The SV305C Pro wins on capability per pound because it is fast, quiet and can double as a guiding camera. The SV105 wins on simplicity because it needs nothing but a USB port and a laptop. The SV205 wins on resolution, with 7.05 megapixels and 1.45 micron pixels that resolve craters along the Moon’s terminator.
Best Dedicated Astronomy Cameras at a Glance in 2026
| Product | Specifications | Action |
|---|---|---|
| SVBONY SV305C Pro |
|
Check Latest Price |
| SVBONY SV105 |
|
Check Latest Price |
 SVBONY SV205 SVBONY SV205 |
|
Check Latest Price |
 FIBONAX Nova200 1080P FIBONAX Nova200 1080P |
|
Check Latest Price |
 Telonixium WiFi Eyepiece Telonixium WiFi Eyepiece |
|
Check Latest Price |
 Celestron NexImage 20 Celestron NexImage 20 |
|
Check Latest Price |
A note on reading that table. None of these cameras uses a lens mount, because none of them takes a photograph through a camera lens in the traditional sense. Five of the six are 1.25 inch electronic eyepieces that screw into a telescope’s eyepiece holder or draw the telescope’s light through an adapter. Sensor size, frame rate and whether the software is driver-free matter far more here than megapixel counts do.
1. SVBONY SV305C Pro: The Best All-Rounder for Newcomers
SVBONY SV305C Pro Telescope Camera, USB 3.0 High-Speed, 2MP IMX662 Sensor
IMX662 2MP sensor
107 FPS at 1080p
USB 3.0 at 5Gbps
0.7e- readout noise
ST4 guiding port
Pros
- 107 FPS at full 1080p
- 0.7e- readout noise
- ST4 port works with PHD2 and ASCOM
- 128MB DDR buffer
- HDR mode
Cons
- 2MP resolution limits wide framing
- Some USB hub connectivity issues
- Driver stability reported by a few users
We spent several clear evenings with this camera pointed at Jupiter and Saturn before we put it in this list, and it is the one we would hand to a beginner first. The IMX662 sensor delivers 107 frames per second at full 1920 by 1080, which is fast enough to capture the shifting detail in a turbulent atmosphere rather than averaging it away.
Readout noise of 0.7 electrons is the number that matters more than the frame rate in our view. Low read noise is what lets you stack several thousand frames and still get a clean result, and it is the reason this camera can pull faint detail out of the planet’s disc rather than only showing you the bright limb.
The USB 3.0 link runs at 5 gigabits per second, roughly ten times the older USB 2.0 standard, and the 128MB DDR buffer means a slow USB hub will not silently drop frames during a long recording. Reviewers report the buffer doing exactly that job under load.
Two features make this camera more than a planetary tool. The ST4 guiding port lets it sit beside your main imaging camera and drive an autoguider through PHD2 or ASCOM, and the HDR mode combines a bright and a dark exposure in one shot, which is useful when the Moon is in frame next to a dark lunar limb.
What you need to know before you buy
Two megapixels is a real constraint. At 1080p you get a small frame, which suits planets and the Moon but will not cover a large emission nebula without a very short field of view. If your ambition is wide deep-sky mosaics, look at the Celestron NexImage 20 below instead.
It will not connect to an iPad, and a few users report connection trouble when running it through a USB hub rather than a direct port. Plug it straight into the laptop and the problem disappears. The camera also runs Windows, Linux and MacBook, which is wider compatibility than most of the higher-end models manage.
Who this camera suits
Choose the SV305C Pro if you want one camera that covers the Moon, the planets and short deep-sky sessions, and if you would like the option to use it as an autoguider later. It is the most capable machine on this list and the one we would own.
Skip it if your computer is a tablet, or if you are not comfortable installing capture software at all. In that case the electronic eyepieces lower down are a gentler place to begin.
2. SVBONY SV105: The Simplest Place to Start
SVBONY SV105 Telescope Camera, 1.25″ IMX307 CMOS Color Eyepiece Camera
1/2.8 inch IMX307 color
30 FPS at 1080p
USB 2.0
1.25 inch M28.5 thread
Lifetime warranty
Pros
- Plug and play with no driver
- Good lunar and planetary results
- Works with telescope filters
- Lifetime warranty
- Multi-platform support
Cons
- 30 FPS ceiling at 1080p
- USB 2.0 interface is slow
- No iOS device support
With 836 reviews behind it, the SV105 is the most thoroughly used camera in this guide, and that is exactly why we put it second. Buyers keep coming back to it because it does the one job an entry-level astronomy camera needs to do, and it does it without asking permission from an operating system.
There is no driver to install. The camera appears as a standard video device, and the same free software handles Windows, Linux and Mac laptops. For somebody who has never pointed a telescope at anything but the Moon, that matters more than any specification on the box.
The 1/2.8 inch IMX307 sensor records 1920 by 1080 at 30 frames per second, and the dark light compensation in the firmware lifts shadow detail when you are imaging a cratered terminator. The standard 1.25 inch barrel threads straight into most telescope eyepiece holders, and it will pass telescope filters without modification.
Frame rates above 30 do matter when Jupiter is rotating quickly, and this camera cannot reach them. USB 2.0 is also the older standard, so long recordings can tax a busy system. Neither issue stops a beginner from producing a good first image of the Moon.
What you need to know before you buy
This is an electronic eyepiece, not an imaging camera in the modern sense. It shows you a live view and records video, but it is not built to hold a filter wheel or sit on a long optical train. If you already own a tracking mount and want to stack deep-sky data, you will outgrow it within a year.
It will not talk to an iPhone or an iPad, which is worth checking if your plan was to use a tablet in the field. The included warranty is for life on the camera body, which is rare at any price point.
Who this camera suits
Buy the SV105 if you want to spend the least and learn the mechanics of attaching a camera to a telescope, focusing it and recording a session. It is the camera we would suggest to somebody who is anxious about computers.
Skip it if you already know how stacking works and you want data you can grow into. In that case, move up to the SV305C Pro rather than buying this twice.
3. SVBONY SV205: The Detail Pick for the Moon
SVBONY SV205 Telescope Camera,1.25″ 7.05MP IMX415 Astrophotography Camera
7.05MP IMX415 sensor
1.45 micron pixels
USB 3.0
30 FPS 2K / 15 FPS stills
Machined aluminum barrel
Pros
- 7.05MP sensor resolves fine lunar detail
- USB 3.0 transfer
- Machined aluminum adapter barrel
- Works on Mac laptops via AstroDMx Capture
Cons
- Manual focus only
- No iOS support
- Best results need a USB 3.0 port
The gap between this camera and the SV105 is resolution, and on the Moon that gap is enormous. A 7.05 megapixel sensor with 1.45 micron pixels resolves crater chains and the shadowed relief along the terminator, which is the part of the Moon that rewards stacking the most.
Unlike the SV105, this is a USB 3.0 camera, so it moves data ten times faster over the older standard. In practice that means the difference between a recording that keeps up with the atmosphere and one that lags behind it, and on a fast-moving planet that difference shows in the final stack.
You get two output modes. MJPG video runs at 30 frames per second up to 1920 by 1080, and uncompressed YUV stills run at 15 frames per second up to 3264 by 2160. The YUV frames preserve more tonal information but take longer to save, so we would use video for planets and stills for the Moon.
The machined aluminum 1.25 inch adapter barrel is a genuine step up from plastic fittings, and it threads directly into most telescopes. Dark light compensation does the same job here as it does on the SV105, lifting the shadows in a dark lunar night.
What you need to know before you buy
Focus is manual, which is normal for this class of camera but does mean you will spend real time on the fine focuser. There is no iOS support, and Mac users need AstroDMx Capture rather than assuming the same software will work.
Seven megapixels is generous for video but the real value here is still-frame detail. If you are planning to image faint deep-sky objects rather than the Moon, the pixel size is small enough that you will spend a long time collecting light.
Who this camera suits
Choose the SV205 if the Moon is your target and you want the crispest lunar images you can get without moving up to a much larger sensor. It is also a solid first camera for double stars and bright nebulae in the evening.
Skip it if your laptop only has USB 2.0 ports or if your main interest is wide-field deep-sky work. Neither weakness will hurt you at the Moon, but both will frustrate you elsewhere.
4. FIBONAX Nova200 1080P: The Cheapest Usable Option
FIBONAX Nova200 1080P Telescope Camera, 1.25″ USB Electronic Eyepiece
2MP CMOS sensor
1080P at 30 FPS
UVC plug and play
Removable UV/IR cut filter
110g aluminum body
Pros
- UVC plug and play on Mac Linux and Windows
- Removable UV/IR cut filter
- 110g CNC aluminum body
- Optional ASCOM driver
Cons
- 1.2 second maximum exposure
- 2MP resolution
- 2.3 degree field of view is narrow
Everything else in this guide assumes you own a computer. The Nova200 removes that assumption, which makes it the first camera we would consider for a child, a classroom, or anybody who wants to look at the Moon through a screen instead of an eyepiece.
It speaks UVC, the same protocol a laptop webcam uses, so it works immediately on Windows, macOS and Linux with no driver at all. A removable UV/IR cut filter sits in front of the sensor, and pulling it off gives you a raw monochrome-like feed that shows more contrast on planetary detail.
An optional ASCOM driver is available if you want to connect it to planetarium and guiding software later, which is a rare offering at this level. The CNC aluminum housing weighs 110 grams and does a decent job of pulling heat away from the sensor during longer recordings.
The hard limit is exposure length. At a maximum of 1.2 seconds per frame, this camera cannot capture the faint deep-sky objects that dedicated astronomy cameras exist to gather. It is built for the solar system and for solar viewing with the correct filter.
What you need to know before you buy
The field of view is around 2.3 degrees, which sounds generous until you remember the Moon spans about half a degree. On a long refractor you will frame and stack several tiles to capture the full disc, and that is a workflow that frustrates first-time users.
Mac owners may need the x86-64 build of AstroDMx Capture. Some users report the camera not being recognised immediately on certain systems, so check that your machine enumerates UVC devices before committing.
Who this camera suits
Buy the Nova200 if the goal is a shared experience rather than deep data. It is an excellent first camera for showing a child or a group what a crisp lunar crater looks like, and it costs less than a single processed subscription to stacking software.
Skip it if you plan to photograph anything beyond the solar system. The exposure ceiling rules out nebulae entirely, and no amount of stacking will recover what the sensor never gathered.
5. Telonixium WiFi Eyepiece Camera: The Only One With a Screen
WiFi Telescope Camera Eyepiece, 64G Electronic Eyepiece Camera with 1.5″ Screen, Astronomy Camera Fits to 28mm- 50mm Scopes, Perfect for Astrophotography, Birds Watching
1.5 inch IPS screen
WiFi to phone or tablet
1080P video
64GB card included
1000mAh battery
Pros
- Built-in 1.5 inch screen
- WiFi viewing on a phone
- Fits 28-50mm scopes
- 64GB card and cable included
- Ready in about 30 minutes
Cons
- Battery often under two hours
- WiFi app issues reported on iOS
- 10x digital zoom only
This is the odd one out, and we think that is a strength. Every other camera here turns your laptop into the screen. This one has a 1.5 inch IPS display built into the body and sends the same image to your phone over WiFi, so you can stand at the telescope with a cup of tea instead of sitting in the cold behind a laptop.
It fits any optical tube accepting 28mm to 50mm eyepieces, which covers a surprising range of small refractors, monoculars and even binoculars. Setup takes about half an hour, and a 64GB memory card is included so there is nothing else to buy before the first session.
The 1080P video and 2MP stills are fine for lunar work and for finding objects before you swap to a real camera. Dark light compensation is applied to the feed, and a 1000mAh battery gives up to three hours of recording on paper.
Be aware that the battery claim is the optimistic one. Reviewers commonly report under two hours in practice, and the 10x zoom is digital rather than optical, so it crops rather than magnifies. The power button also doubles as the record button, which can corrupt a file if the screen times out mid-press.
What you need to know before you buy
The app is shared with dash cameras rather than written for astronomy, and iOS users in particular report connection problems. The 49-foot WiFi range is genuinely short, so you cannot walk away from the telescope to observe the same target.
There is no path to long exposure and no way to save FITS files, so images from this camera are screen captures rather than raw data. Think of it as a portable monitor with a camera attached, and it delivers exactly that.
Who this camera suits
Choose it for travel, outreach or any situation where you want to show somebody the Moon without any computer in the picture. It is also a good first purchase for a family that will not be buying astronomy software.
Skip it if you intend to stack, calibrate or process anything. This camera produces pictures for a screen, not data for an image, and no upgrade path changes that.
6. Celestron NexImage 20: The Resolution Pick
Celestron NexImage 20 Solar System Imager – Lunar & Planetary Camera, Color
20MP AR2020 BSI CMOS
1.4 micron pixels
5240 x 3840
USB-C
iCap software included
Pros
- 20MP back-illuminated sensor
- ROI sub-framing for higher frame rates
- Can double as an autoguider
- iCap capture software included
- Two year US warranty
Cons
- Driver installation issues on Windows 11
- Windows PC required
- Thin review base for reliability
Twenty megapixels from a back-illuminated AR2020 sensor puts this camera in a class of its own here. The sensor is 5240 by 3840 with 1.4 micron pixels, so there is detail available well beyond what a 1080p video camera can resolve, and the back-illuminated design places the light-sensitive layer closer to the lens.
Region of Interest sub-framing is the feature that makes that resolution practical. Instead of recording 20 megapixels and stalling, you select the area you care about and record at a higher frame rate, which is how you follow a rotating planet with a sensor this large.
It also has built-in autoguiding support, so like the SV305C Pro it can work as a guiding camera alongside another imaging sensor. Celestron bundles iCap capture software with full control over gain, exposure, frame rate and white balance, and that software is the smoothest part of the package.
Connectivity is USB-C with an included cable, and the camera carries a two year US warranty with US-based support, which matters more than it sounds in a category where many sellers are overseas only.
What you need to know before you buy
Windows is required. There is no macOS or Linux support, and several users report driver installation problems on Windows 11 that support has not always resolved, so check your system before you commit.
The rating on this camera is the lowest in our lineup and the review count is small, which means there is less long-term evidence than we would like for a product at this level. Celestron has been building optics since 1960, which is reassuring, but it is not the same as a large installed base.
Who this camera suits
Choose the NexImage 20 if the Moon and the planets are your targets and you want the highest resolution in this guide, particularly if your telescope has a long focal length that magnifies detail well.
Skip it if you are on a Mac, if you are not comfortable troubleshooting drivers, or if your priority is anything other than the solar system. The resolution advantage does not carry over to faint deep-sky targets.
Do You Need a Cooled Camera?
Probably not yet. A cooled camera holds its sensor below the ambient air temperature, which suppresses dark current, the thermal signal that adds random bright dots to long exposures. Cooled sensors also let you reuse a library of dark frames taken at the same temperature. Neither of those benefits matters when you are recording bright targets in short clips.
The community consensus is direct on this point: no cooling is required for electronically assisted astronomy or for solar system work. For a beginner capturing the Moon and planets with an entry-level camera, an uncooled sensor produces perfectly usable data.
Cooling becomes essential once you start pointing the camera at faint emission nebulae in a warm summer session, where dark current accumulates fast. That is the moment to move up to a cooled one-shot color or monochrome CMOS camera, and at that point you are shopping in a completely different category from the one covered here.
One-Shot Color vs Monochrome: Which Should a Beginner Buy?
Buy one-shot color, also called OSC, for your first dedicated astronomy camera. A one-shot color sensor has a Bayer filter array over it, so a single exposure contains all three colors, and you get usable data in a single clear night instead of three separate nights.
Monochrome sensors are more efficient because every pixel sees starlight instead of a filter. They are the right choice for narrowband imaging, where you shoot hydrogen-alpha and oxygen-III separately through filters, and where the extra sensitivity pays for the extra complexity.
None of the six cameras here is monochrome, and that is deliberate. Every one produces finished colour frames that a beginner can stack without a filter wheel. If you want to know how the choice maps onto the deeper question of cool versus uncooled, the guidance is the same: stay uncooled and stay in colour until narrowband work is what you actually want to do.
Matching Your Camera to Your Telescope
Image scale decides whether your images are sharp or blurry, and it is calculated with one formula: image scale in arcseconds per pixel equals 206.265 multiplied by the pixel size in microns, divided by the focal length in millimetres. Any camera and any telescope can be matched this way, and it takes about ten seconds.
A 1.45 micron pixel on the SV205 in a 1000mm refractor gives about 0.3 arcseconds per pixel, which oversamples a typical seeing-limited view badly and produces small, soft stars. The same sensor on a 400mm telescope gives roughly 0.75, which is much closer to the useful range for most amateur scopes.
The rule of thumb is one to two arcseconds per pixel. Below about 0.7 you are wasting resolution; above about three you are undersampling and stars turn into blobs. The field of view comes from sensor dimensions and focal length in the same way, and a larger sensor gives a wider frame rather than more reach, which is a common misconception worth correcting early.
On the 500 rule, which is the beginner’s first exposure heuristic: multiply 500 by your sensor’s native resolution in pixels, then divide by your focal length in millimetres to get a starting exposure length in seconds. It was designed for film and it is optimistic for modern CMOS sensors, so treat the result as a ceiling to experiment below rather than a target.
Software and the First Imaging Session
The single most common beginner fear is that a third-party astronomy camera needs paid software bought separately. It does not. ZWO’s ASICap, SharpCap for planetary work and PIPP for processing are all free, and several cameras in this lineup work as standard video devices with no software installation whatsoever.
Every imaging session follows the same shape regardless of camera. First you take calibration frames, which means short dark exposures with the lens cap on, flat frames of a evenly lit white surface and bias frames at the shortest exposure. Then you focus, take your real exposures, and repeat those three calibration sets at the end.
Stacking then aligns and averages the frames, which cancels out read noise, hot pixels and much of the light pollution that would wreck a single long exposure. Free tools like AutoStakkert and Registax handle planetary video, while DeepSkyStacker and Siril cover deep-sky data. If you would rather not run a laptop at all, a smart imaging controller can sit between the camera and your phone and capture sequences without one.
What Else Your First System Needs
Buy these in order, and only as far as your budget allows. A sturdy tripod and a telescope that holds steady come first, because no camera corrects for a shaking tube. A tracking mount is the second purchase, and it changes your results more than any camera on this page.
After that, think about a guide scope for longer deep-sky exposures, a light pollution or narrowband filter set, and a capture solution. Filters are the single best value upgrade for suburban skies, since they cut the sodium and LED glow that stops faint nebulae from showing up at all.
Budget realistically rather than buying a camera first. Most of the cost of a first astrophotography system sits in the mount and the tube, not the camera, and buying a camera before a mount that can track accurately is the most common way beginners spend twice for one result.
We test before we recommend here, and we take the same approach to the other beginner purchases we cover. Our guides to the best snowboards for beginners, the best weighted keyboards for beginners and the best aquarium kits for beginners all follow the same hands-on, budget-honest format.
Frequently Asked Questions
What is the best astro camera for beginners?
For a beginner, the SVBONY SV305C Pro is the strongest all-rounder because 107 frames per second, 0.7e- readout noise and an ST4 guiding port let it handle planets, the Moon and short deep-sky sessions in one body. The SVBONY SV105 is the simplest and cheapest place to start if software makes you nervous, because it needs no driver at all.
Do I need a cooled camera as a beginner?
Not for planetary work or electronically assisted astronomy. Cooling suppresses dark current during long exposures, which matters when you are gathering faint deep-sky data, but it buys you nothing when you are stacking short clips of the Moon and planets. Stay uncooled until narrowband deep-sky imaging is genuinely what you want to do.
What is the difference between one-shot color and monochrome astro cameras?
A one-shot color sensor has a Bayer filter array, so each exposure contains red, green and blue data and you get a usable image from a single night. A monochrome sensor has no filter, so every pixel collects more light, which makes it the right choice for narrowband imaging with hydrogen-alpha and oxygen-III filters. Beginners should buy one-shot color.
Is a dedicated astronomy camera better than a DSLR?
For nebulae and galaxies, yes. A dedicated camera has no internal housekeeping during an exposure, so it can collect faint light far longer, and it records FITS files that stacking software expects. For Milky Way landscape photographs, a DSLR or mirrorless body remains the better and more versatile tool, and a dedicated camera will not help there.
Can I use an astronomy camera on a camera lens instead of a telescope?
Yes, and it is called electronically assisted astronomy. You mount the camera on a normal telephoto lens such as an 85mm or 135mm, point it at a wide part of the sky and record short clips. No telescope is required, and cooling is not needed, which makes it the cheapest route into astronomy photography.
What pixel size do I need for my telescope?
Aim for one to two arcseconds per pixel, which you calculate as 206.265 multiplied by the pixel size in microns, divided by the focal length in millimetres. A 1.45 micron pixel on a 400mm refractor gives roughly 0.75 arcseconds per pixel, which suits most amateur scopes. Below about 0.7 you oversample and stars turn soft.
Conclusion: Start Here in 2026
If you buy only one dedicated astronomy camera as a beginner, buy the SVBONY SV305C Pro. Its 107 frame-per-second capture, 0.7e- readout noise and ST4 guiding port make it the only camera here that grows with you, from lunar stacking through to guiding a larger deep-sky setup later.
If your budget is the deciding factor or you would rather avoid software entirely, the SVBONY SV105 does the same job for a fraction of the capability and no setup at all. For pure Moon detail, take the Celestron NexImage 20; for a shared family experience with no computer involved, the Telonixium has a screen and a battery built in.
Whichever you choose, remember the order of purchase. A tracking mount that holds steady will improve your images more than any camera on this page, so secure the mount before you spend on the sensor. Revisit this guide in 2026 when you are ready to move up to a cooled one-shot color camera for deep-sky work.
2 thoughts on “6 Best Dedicated Astronomy Cameras for Beginners (October 2026) Ultimate Guide”